EXPERT INSIGHT
3 Reasons Why Optimized Nesting Is Essential — and How to Achieve It
Nesting is a crucial part of the build preparation workflow for Laser Sintering (SLS) and Multi Jet Fusion (MJF) printing. This process, similar to the game of Tetris, involves fitting together as many parts as possible into the powder bed to ensure a high part density that enables efficient use of resources while ensuring impressive part quality. In order to benefit from these advantages, additive manufacturing (AM) facilities must understand how to optimize this process and why it’s essential to do so.
1 - To build an efficient production
An AM system is not a light investment, so it’s critical for the printing production to run as efficiently and reliably as possible in order to maximize your machine investment. This is often accomplished by reducing the waste of crucial resources, such as time, money, and labor — all of which enable shorter lead times, increased productivity, and more. So, how can this efficient production be achieved by optimizing part nesting? In a number of ways.
A major way that facilities can better manage production via nesting is with the multiplatform nesting option. This means that instead of nesting each and every build platform one at a time, technicians can nest multiple platforms simultaneously. This not only means that build preparation is completed faster, but it also allows team members to spend less time on nesting and more time on higher-value tasks. What was previously a time-consuming task to be completed multiple times per week becomes a task done once at the beginning of a week with a click of a button.
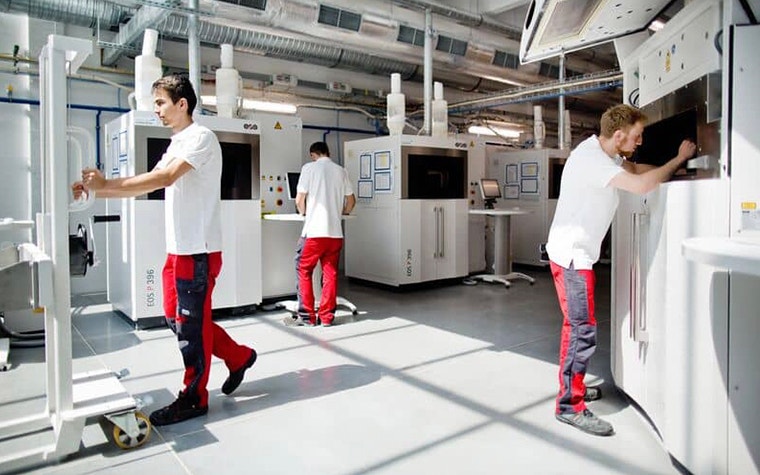
“Magics’ Sinter Module is the coolest piece of software I have ever worked with, and it saves me many hours per day!” says David Mauchline, Additive Manufacturing Manager at Vaal University of Technology. “I am responsible for 14 high-end AM machines, so job preparation used to take up most of my day.”
Another method for optimizing production via nesting is by setting an artificial ceiling of sorts for each build. By doing so, you limit the height of the print to ensure that the build is complete within a certain number of hours or to increase nest density. Once this limit is chosen, the nesting software, such as Materialise Magics’ Sinter Module, will re-nest any parts that end up above that invisible line by either integrating them into another build or reorganizing that build to nest all parts below the indicated ceiling.
2 - To ensure part quality and consistency
3D print factories must ensure that the operations are not only getting the work done, but that the results are first-rate. As mass customization and serial production become more and more prevalent in the 3D printing field, it’s necessary to reliably print these similar, high-quality parts time and time again. This is another area of the AM workflow where optimized nesting can come in handy thanks to capabilities that give users a quick and easy way to control certain parameters during the process.
One of these ways is by using a shape sorting function. With a shape sorter, the user can select a part and orient it in a specific direction to ensure a high-quality print. For example, rounded parts are frequently placed on the X and Y axes to avoid warpage. From there, the software will nest every part with a similar shape in the same manner for consistency’s sake. Plus, this feature makes it possible to reuse positions that result in high-quality parts over and over again, removing the guesswork and establishing consistency.
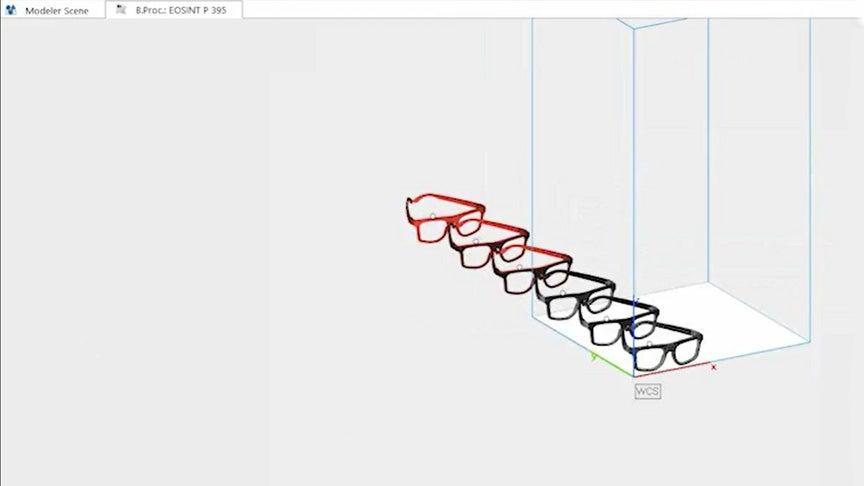
With the shape sorting function you can establish consistency when printing similar shaped parts.
As a printer of SLS or MJF parts, another important component of a successfully-nested build is one in which the heat is evenly distributed. A build platform that is unevenly nested results in varying temperatures that cause unwanted shrinkage of parts. In order to combat this, data preppers must check that the surface area of each layer is similar to the rest, a task made simple with slice distribution maps.
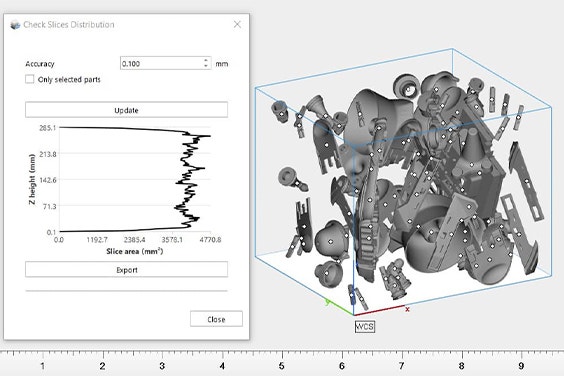
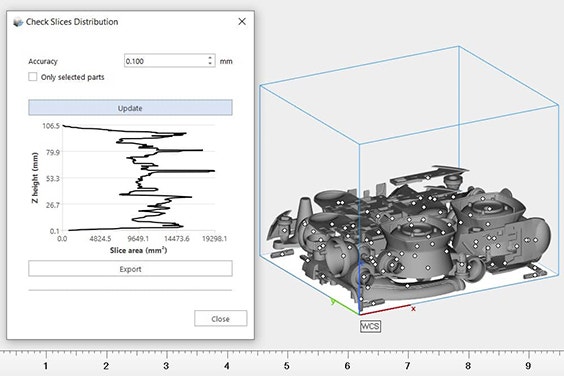
Here you can see parts nested normally (left) vs. parts nested with optimized slice distribution (right).
Last but not least, many machines have locations within the build where machine components could interfere with the build or the quality will be lower. In these cases, users can also specify no-build zones while nesting to avoid parts being printed in these areas that could result in low-quality parts or even failed parts.
3 - To tailor the build to fit your needs
As nesting software has progressed over the years, it’s gotten faster and faster. In fact, with certain builds, our latest version of Magics can even nest thousands of parts in less than a second. However, speed isn’t the only important factor during the nesting process. There is also plenty of value in having control over the process, particularly when it comes to the key parts in a build. This could be to ensure part quality, but also to increase part density, therefore saving you resources.
“We often use multiple algorithms while nesting, so we really appreciate how intuitive the software is.”
— Victor Lopez, AM Engineer, Parker Hannifin
One method for tailoring your build platform is by using multiple algorithms. For example, the Magics Sinter Module has two different algorithm options: the bounding box nester and the geometry nester. The bounding box nester shines when it comes to nesting small, rectangular shapes with lightning-fast speed, while the geometry nester specializes in nesting more organic shapes in a way that maximizes nesting density. A popular technique with this software is nesting the first round with the bounding box nester and following it up with the geometry nester to benefit from both speed and control.
Victor Lopez, an AM engineer at Parker Hannifin finds this capability especially useful: “We often combine multiple nesting strategies, so we really appreciate how intuitive and easy-to-use the software is. It’s a breeze to teach the process to new team members because the workflow within Magics is so seamless.”

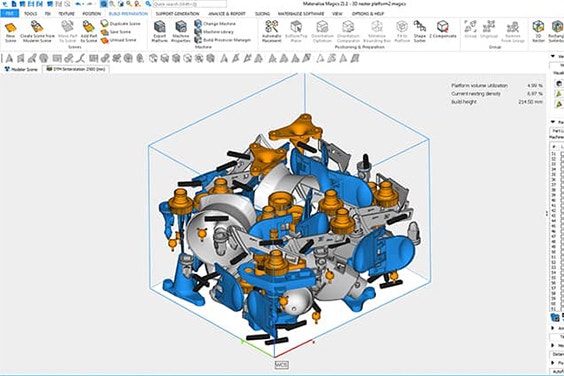
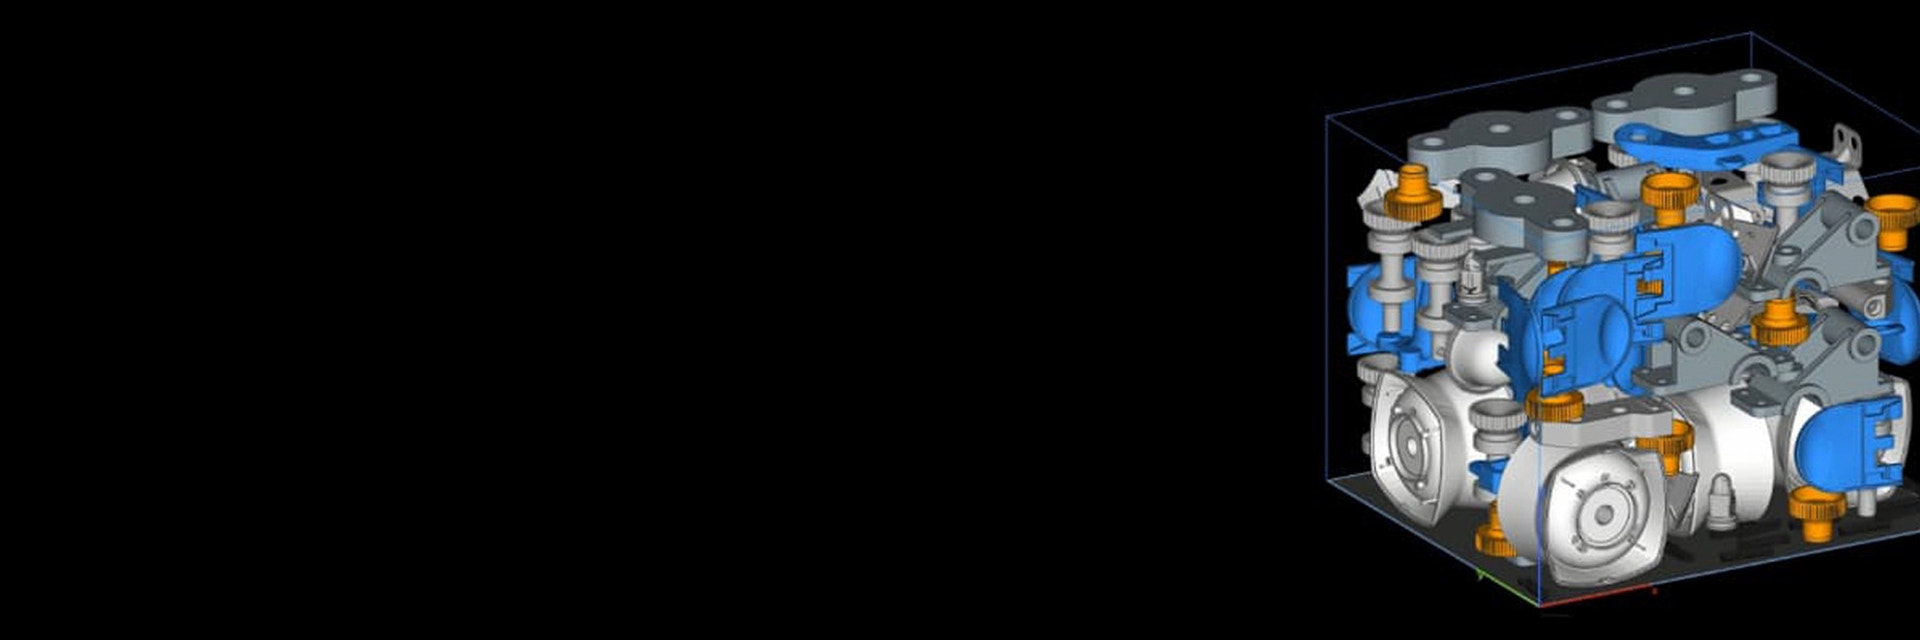
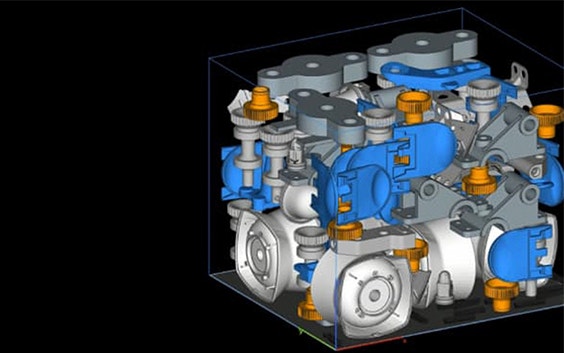
Automated nesting can be completed within seconds using the Sinter Module.
Now, let’s take the control a step further. Say you have a few larger or more important parts that you want to nest manually. Simply nest these parts first, even setting individual degrees of freedom to have more control over each item. Then, let the automatic nester run to quickly fill in the rest of the build. Alternatively, you can create a subnest first with the smallest parts before nesting the entire build to maximize nest density.
All of the capabilities mentioned in this post, and more, are available in the Materialise Magics Sinter Module. With this solution, users can both save many valuable hours of their time thanks to the speed of the 3D nester and gain more control over the process to improve part quality or increase nesting density.
Share on:
You might also like
Never miss a story like this. Get curated content delivered straight to your inbox.