EXPERT INSIGHT
How Do You Design and Realize a Customized 3D-Printed Hand?
We had the opportunity here at Materialise Malaysia to start off 2016 by living up to the Materialise motto: working towards a better and healthier world. With the help of some talented and generous people, I was able to make a real difference in a wonderful little boy’s life with a 3D-printed hand. But between the original inspiration to do this and the final, happy day when Padmaloshn tried on his new hand for the first time, lay months of dedicated effort by various people. This is how we created Padmaloshn’s new 3D-printed hand.
The original open-source 3D-printed hand design from e-NABLE
I started off with an open-source design from the global volunteer community e-NABLE. The e-NABLE design is optimized for 3D printing with fused deposition modeling (FDM) technology using a thermoplastic material (PLA). The design contains 17 components that are 3D printed and assembled with screws, to create the full hand-like device. The original design was made up of a palm, gauntlet, and individual fingers. Tension, which makes it possible to grip objects using the hand, is provided by a tensioning mechanism in the form of an additional set of parts that are required to be mobile and separate.
Switching modes: from FDM to laser sintering
Even though the original design was optimized for FDM, we at Materialise had access to multiple 3D printing technologies and industrial-grade printers. We decided that laser sintering was better suited for the purpose, given this technology's design possibilities, including precision and no need for printing supports. We revised the design to be printable as a single hand; the palm, gauntlet, and fingers were printed in one piece. The tensioning mechanism, which needed to be kept separate for optimal function, was printed as a separate set of mobile parts.
By printing the hand in one piece, we reduced the need for assembly and ensured higher integrity and fluidity of joints. We merged the joints to create interlocking features between moving sections, maintaining joint movement. In preparation for printing, we changed the tolerances of the parts to best suit the laser sintering machines we were using. For the material, we chose a thermoplastic polyamide, a common choice for laser sintering owing to its material properties of strength and lightness.
The perfect fit: sizing the patient and rescaling the hand
We initially measured the patient Padmaloshn’s wrist size from photographs using e-NABLE’s measuring method. We also used a desktop optical scanner to get a wrist scan and additionally measured his wrist with tape measures. That gave us the information we needed to rescale the hand for the best fit.
Rescaling a hand device accurately can be challenging and counter-intuitive since, typically, the hand is made slightly bigger than it needs to be, and then padding is added. This also allows for growth to some extent, lengthening the lifetime of the device before a new build becomes necessary for a growing child. It took us a couple of iterations to find the perfect balance: a device that was large enough to allow some room for growth but small enough to fit snugly. Within three attempts, we had a hand for Padmaloshn. Throughout the process, we noted down ideas to further optimize the design for future iterations, as and when new versions of the hand are printed for Padmaloshn.
Final assembly
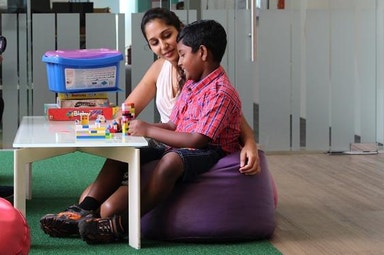
Thanks to e-NABLE’s global presence, the assembly process was straightforward. A local volunteer sent us the parts we needed to put together the hand. Having built the part in one piece drastically reduced the work needed for assembly. The assembly process consisted of threading wires through the fingers and palm and attaching this to the tensioning mechanism with screws. We then adjusted the tension to achieve a secure grip and a good resting position with Padmaloshn’s first-person input. Additionally, velcro and padding were added to the prosthetic hand to allow him to wear the hand comfortably. In a few hours of assembly, the hand was ready for Padmaloshn to practice catching large objects like a football as well as grasping small objects like LEGO blocks.
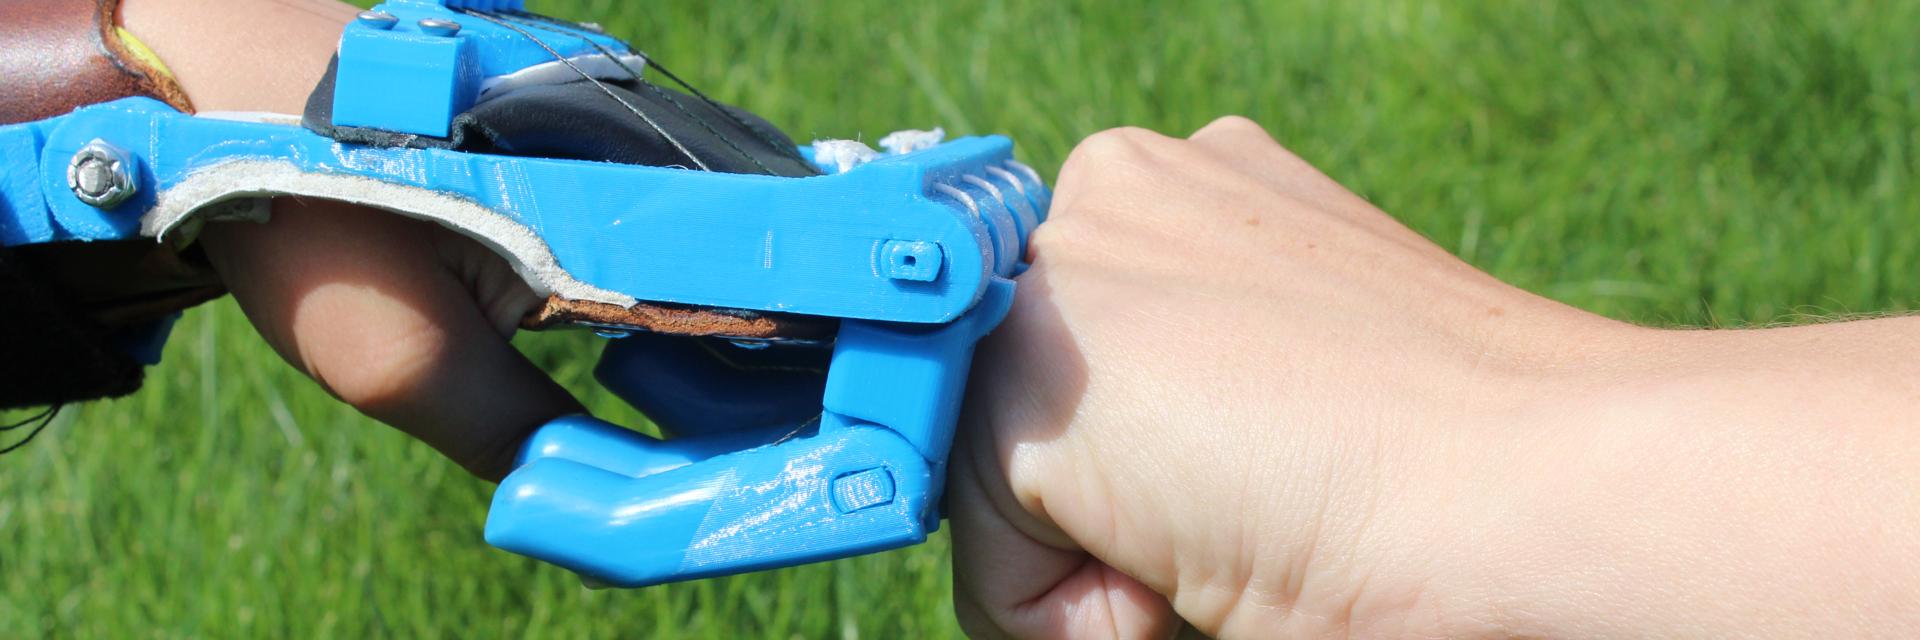
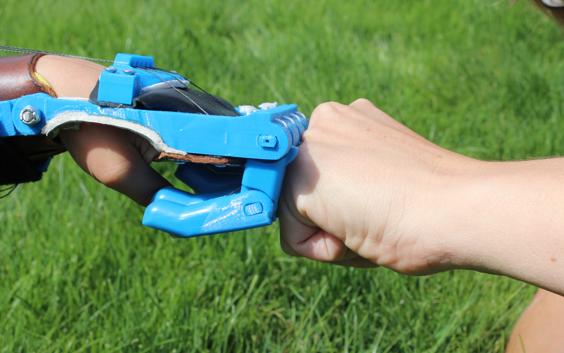
The 3D-printed hand design: how it works
The mechanism of action is similar to how the hand works, whereby a grip is created by the opposing forces of the flexor and extensor muscles. The elastic wires mimic the extensor muscles and non-elastic wires the flexor muscles. The elastic wires are placed on the dorsal aspect of the hand, which holds it up against gravity, while the non-elastic wires on the palmar aspect make it possible to pull it in and grip. The force for this movement is provided by flexing the wrist joint. The wires are connected to a tensioning box where screws are used to tension the wires by the necessary amount. This can be adjusted to define the resting position of the hand and how much force is needed to create a grip, as well as fine-tune the grip position of the fingers.
The experimental hand is a tool, not a prosthetic. Materialise has printed this experimental hand free of charge, with the appreciated help from the non-profit organization e-NABLE. No medical specialists were involved.
Share on:
Meet the author
Ayishwariya Menon
You might also like
Never miss a story like this. Get curated content delivered straight to your inbox.