CUSTOMER STORY
How Do You Really Go Large with 3D Printing? An Entire Mammoth Skeleton!
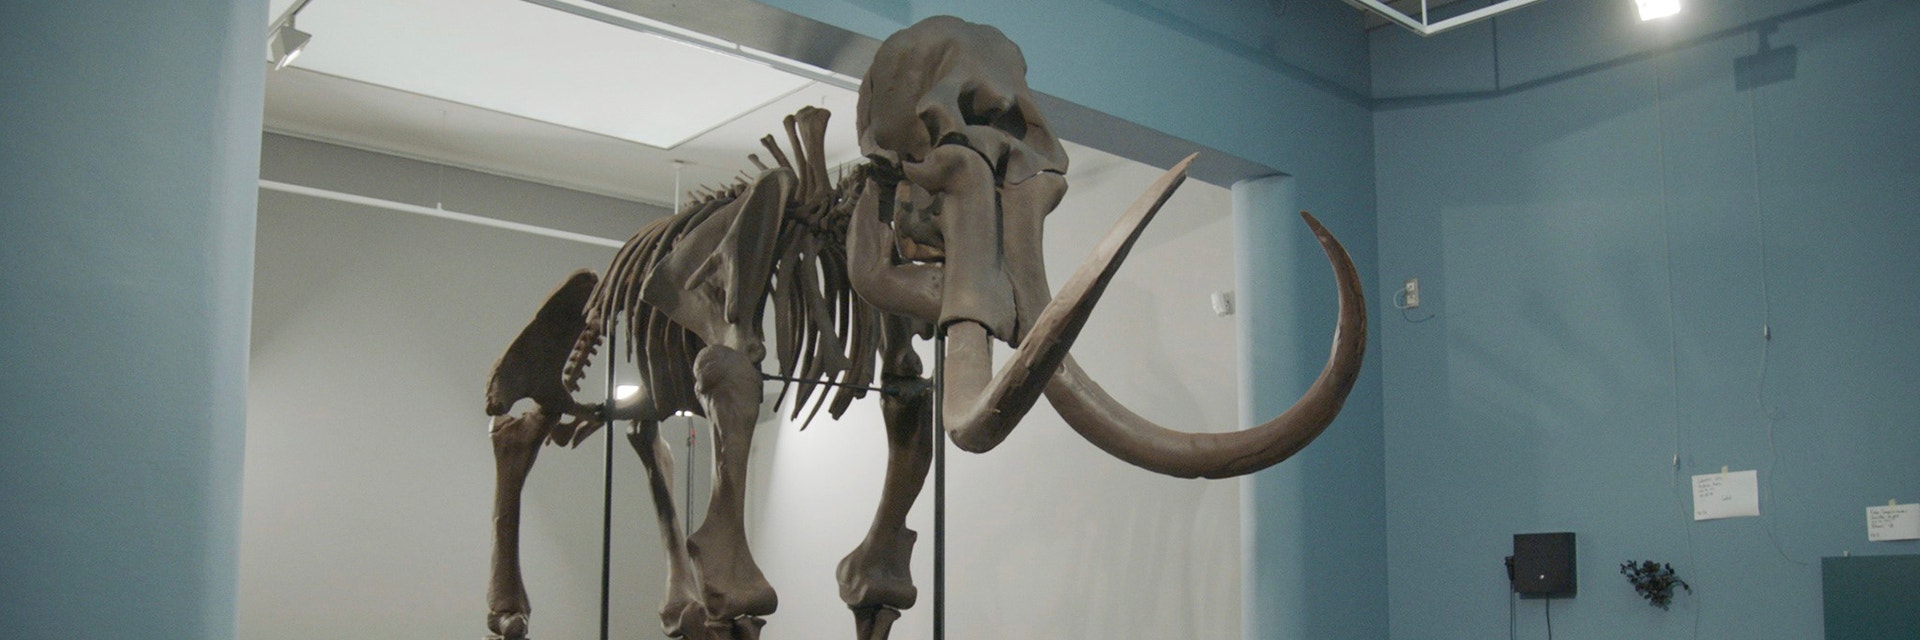
Create a 3D-printed replica of an elephant-sized woolly mammoth skeleton? Even with the wide variety of challenges we’re fortunate to experience at Materialise, projects like this don’t come along every day. Project Engineer Gertjan Brienen managed the team that made this fascinating technical exercise a success. In this article, he tells us how it tested all our capabilities, from design engineering to our own giant Mammoth printers.
A big challenge needs a big team
Could we develop and construct an exact 3D-printed replica of an ultra-rare mammoth skeleton with over 300 bones — some of which are over 1.5 meters in length? And do it in just a couple of months? When I took on the management of the Lier mammoth project, I knew we had a big job on our hands. In every sense!
First task? Getting the right team in place. This project required many different skills, so we brought together a broad team of engineers, 3D design specialists and a planner, along with production and finishing experts. Our people were also joined by an archeologist and a paleontologist – Dr Mietje Germonpré – from the RBINS to make up what turned out to be a 19-strong team.
Kick start with scanning
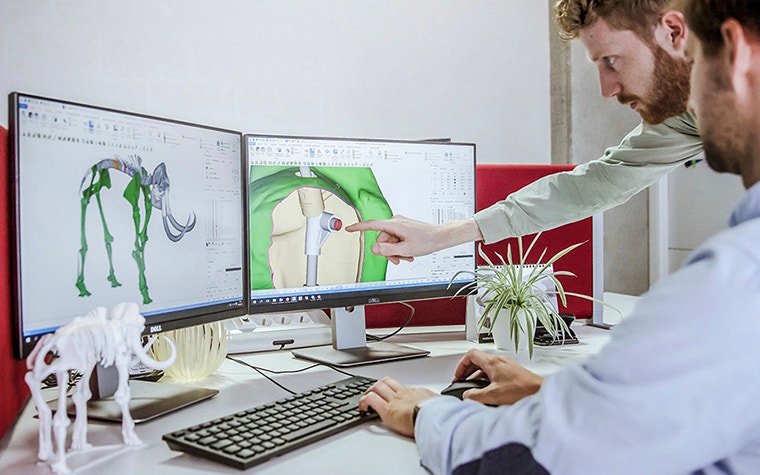
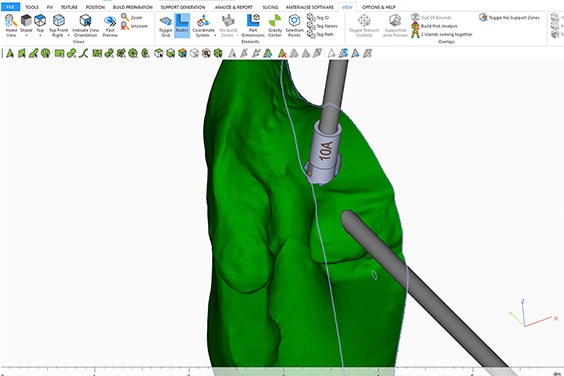
The project kicked off with the museum scanning each bone to capture its dimensional data. That was the only time these valuable relics had to be touched, minimising any chance of damage. Once scanned, the museum sent the raw data to us to clean up and optimize for 3D print using our Materialise Magics software. With a 3D model of every single bone, our multi-disciplinary team worked with the institute’s experts to bring them together into a complete digital picture of the entire skeleton.
As well as getting the bones ready for printing, we were able to edit this digital model to make the new skeleton even more scientifically accurate than the original. Dr Germonpré and her colleagues explained clearly what had to change in order to incorporate modern anatomical knowledge and, with Materialise 3-matic, we shortened the mammoth’s tail, recreated a missing left tusk from a mirror image of the right one, and restored the broken upper jaw.
Making the most of ‘mammoth’ technology
Though full-size mammoth bones are definitely exceptional candidates for 3D printing, I wasn’t worried about coping with the project’s scale. With a build area of 2100 x 700 x 800mm, our large format Stereolithography printers can produce massive parts to tight tolerances by using lasers to selectively harden UV-sensitive liquid resin. Fittingly named “Mammoth” themselves, we designed and built them in-house back in 2001 when we found there was nothing remotely like them available on the market. When they aren’t printing bones, the Mammoths are more usually found working on high-end industrial applications like automotive dashboard prototypes or architectural scale models.
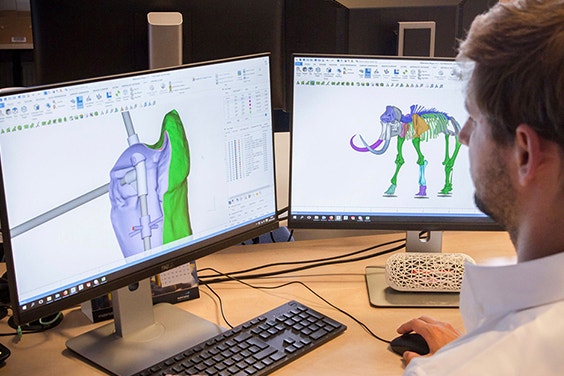
Scans of the Mammoth of Lier
Making the inside, outstanding
In actual fact, one of the more challenging aspects of the project was not the bones, but developing the super strong, super light structure that would hold them all together – one that would be almost entirely internal. Essentially invisible.
For that, I called on colleagues at our Design & Engineering team. They were just as excited as us by the project and delighted to get involved, helping us design an intricate carbon frame that was largely contained within the bones themselves and linked together by laser-sintered polyamide couplings.
It was a cunning solution, though it added another layer of complexity for our engineering designers. Now they didn’t just have to make the replica bones exactly match the originals, but also had to design-in room internally for these carbon beams. They succeeded magnificently. It was time to start printing.

Anyone for a jigsaw puzzle?
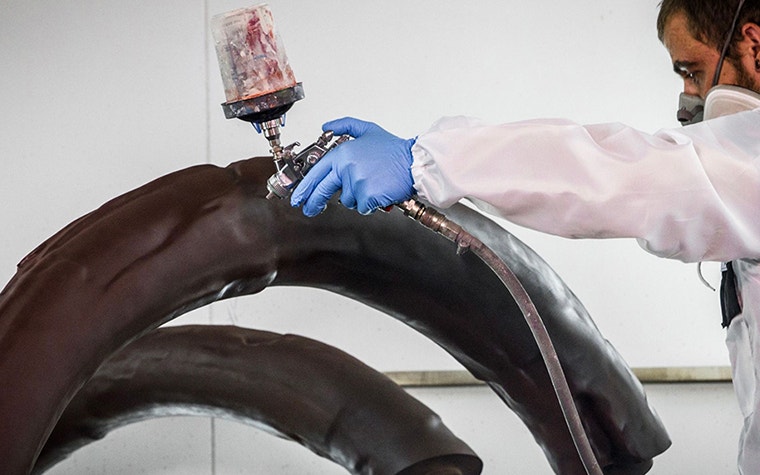
The whole skeleton took nine machines just over 52 days to print, depositing millions of 0.1mm-thick layers of resin in the process and meeting the deadline with plenty of time to spare. Working in parallel to save time, we formed some of the smaller bones using laser sintering. Our finishing experts worked their magic on each part of the skeleton as it appeared, painting, varnishing and enhancing surface textures from tusks to tail bones to make the new look just like the old.
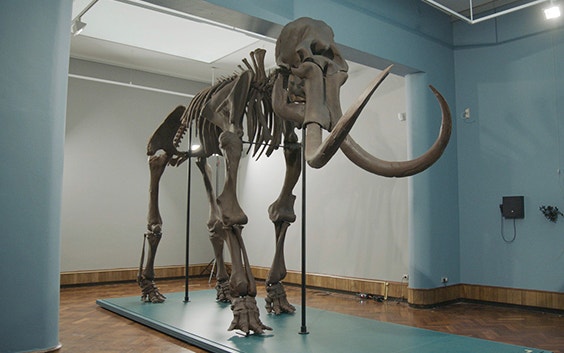
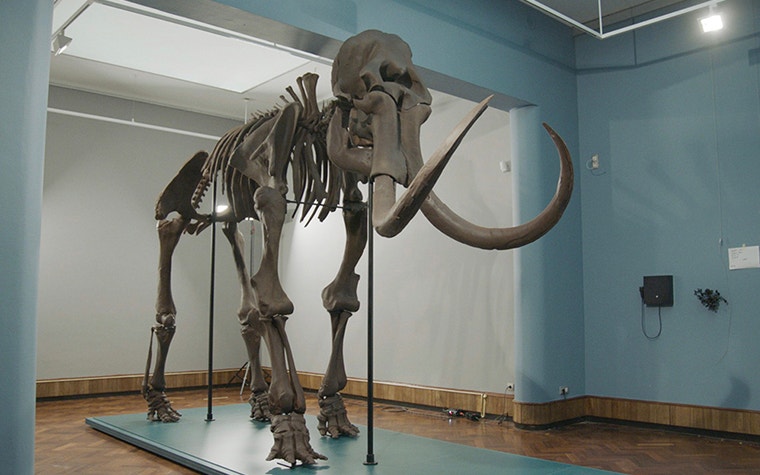
The only question remaining was: would all the components fit together? Assembling the mammoth at our Leuven site was the only way to find out and, I have to admit, I was more than a little nervous beforehand. But I needn’t have worried. Doing that first test assembly at our own facility allowed us to pre-assemble some parts for easier transport, so when we started the final assembly onsite we weren’t starting from scratch any more. With some final modifications for the perfect fit, it all came together without a hitch and looked stunning once complete. We were delighted to see the new mammoth emerge in all his glory. The only sad part was we couldn’t keep him for ourselves!
Once we’d checked everything was exactly as specified, we took the skeleton apart for shipping to Lier. Our design breaks down into six modules for shipping – four legs, the spine/core, and the head – which made taking the mammoth apart and then reassembling him in his new Lier home a lot easier.
Every day is a school day
I know how adaptable 3D printing is, its vast range of applications. But this project really brought that home for me, it opened my eyes wider to what’s possible. And I learned a lot. And one of the biggest lessons? The value of getting the right people involved.
I was incredibly proud to be able to call on so much experience and expertise from across our business, gained in the many diverse industrial areas we work in, and bring them together to handle the many complexities this project presented. It was also fantastic to work so closely with external experts from the RBINS – I can’t thank them enough for their help.
That’s not the only thing I’m proud of though. I think what’s really exciting is that with this project, we’ve helped ancient history live on. Visitors to the Lier museum will be able to enjoy their mammoth for centuries to come. How amazing is that!
Share on:
You might also like
Never miss a story like this. Get curated content delivered straight to your inbox.