EXPERT INSIGHT
5 Basic 3D Model Repair Functions Every Data Prepper Should Know

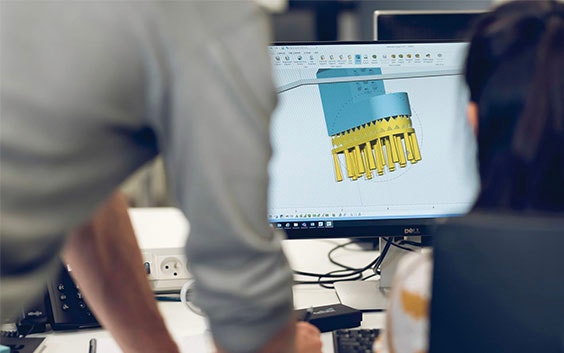
If you have some experience with designing and printing 3D models, you know how important it is to repair your 3D file after conversion from CAD to STL. The design may look perfect, but when you start printing it, the build can fail. An error can easily slip the eye, which is why STL editing software can help you avoid printability issues and ensure a successful print. Discover the STL repair and editing tools you need to create a watertight, printable 3D model: and they’re all available in Materialise Magics software.
1. Trim or unify intersecting and overlapping triangles
Newcomers to 3D printing may have a problem when triangles intersect each other. When this happens you need to create a unified design by cutting off the sharp edge and trimming the triangles. If you forget this step the 3D printer can't tell the difference between the inside and outside of your model and it will result in a failed print. Similarly, when triangles overlap and the edge is shared by more than two faces the 3D printer will find it difficult to calculate the production path. It's not clear to the machine what to do so it can slice your model in a way that the nozzle simply continues to print your model with two identical edges on top of each other. Materialise Magics software removes the duplicate parts of the overlapping triangles, eliminating the calculation problem and ensuring that you have a unified solid model.
2. Check wall thickness
Fun fact: 1 in 5 orders received in 3D printing bureaus have to be cancelled due to incorrect wall thickness. It’s exceedingly common, and it’s a very important part of your design that you need to get right. When using 3D modeling software, it is possible to design a surface without implementing wall thickness. However, the 3D printer will need information about how thick you intend the wall of your object to be.
It’s a bit of a balancing act: the proper wall thickness means that you need surfaces which are thick enough to be 3D printed successfully and contribute to a strong, printed part on the one hand, and on the other hand thin enough to save as much material as possible. With Materialise Magics, you can analyze wall thickness and fortify the walls where needed.
3. Minimize file size
Every triangle your design is made up of uses memory in your computer. Therefore, STL files with more triangles are heavier to process and slice. In many cases, the 3D printer won’t even be able to print a file over a certain amount of polygons, making triangle reduction –also known as polygon reduction or mesh decimation - an essential component.
4. Rescale your 3D model
When can rescaling a 3D model be useful? First of all, since STL files don’t contain distance unit information, you can use a rescale tool to rescale your model to the right unit and size. Secondly, to overcome some wall thickness issues, you can shrink or enlarge your model to the appropriate size. Thirdly, when ordering your 3D print, size influences the price you will pay. And finally, parts are often rescaled for compensating shrinkage when printing.
5. Hollow parts
3D printing can be a costly business, so to waste less material while printing, you can hollow out your entire model. With Materialise Magics, you can hollow models while maintaining the freedom of deciding the optimal wall thickness for printing. This ensures that the printed version will be as economical and environmentally friendly as possible, while still retaining its optimal structural integrity and great looks.
Share on:
You might also like
Never miss a story like this. Get curated content delivered straight to your inbox.