Materialise Academy
知識の共有、サステナビリティへのサポート、そして 3Dプリントの活用。
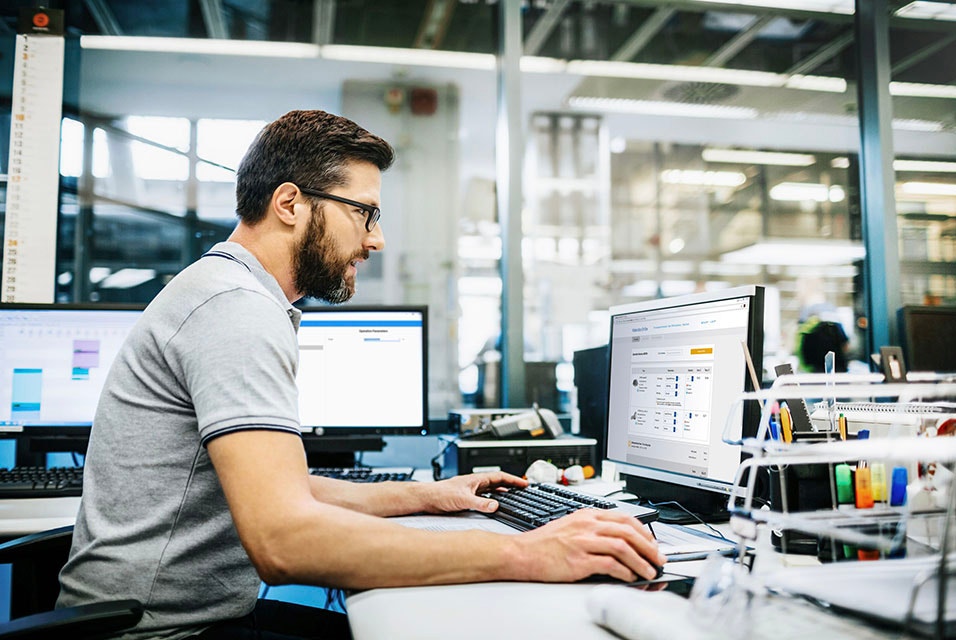
Materialise Academyを活用して、3Dプリントでどのようなことが可能になるのかをご覧ください。 ここでは、ウェビナー、チュートリアル、トレーニング コース、ドキュメント、すべての最新の3Dプリントサービスを通じて、専門家の見識をご覧いただけます。
Materialise Academyを活用して、3Dプリントでどのようなことが可能になるのかをご覧ください。 ここでは、ウェビナー、チュートリアル、トレーニング コース、ドキュメント、すべての最新の3Dプリントサービスを通じて、専門家の見識をご覧いただけます。